How To Easily Make A Tread For A Table?
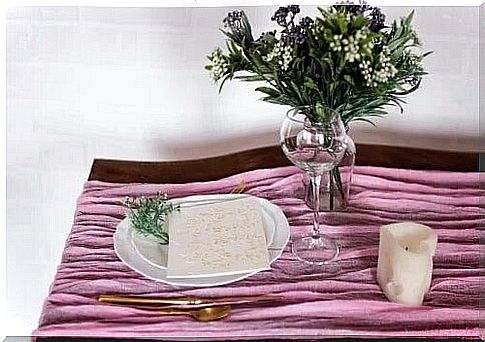
A runner can give your table a whole new look. Plus, it’s perfect for special occasion decorations – find out how to make it at home!
Making a table runner may be exactly what you need to give a new look to your dining table, coffee table, or whatever other table you have at home. Traditionally, they were used to decorate the dining table, but being so versatile, a tread can decorate any other surface.
Would you like to make a beautiful and original table runner? We assure you that it is much easier than you think. You will only need a few materials, a little skill and imagination. You’re ready?
How to make an easy table runner?
It is worth using a sewing machine to make a tread for the table. This way you will be sure to get the perfect product. If you don’t know how to use it, you can ask a friend for help or take the finished runner to a seamstress who will take care of it.

Materials needed to make a tread of 160 x 80 cm
- Fabric 200 x 45cm.
- Thread.
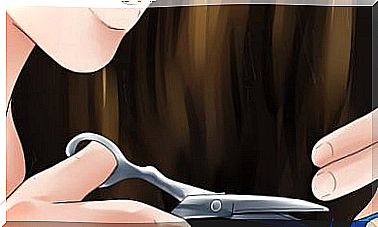
- Scissors.
- Heels.
- Sewing Machine.
Step by step.
- First, it is important to round the edges of the fabric to avoid fraying. To do this, use a sewing machine with an overcasting foot or a zigzag foot.
- After preparing the scratch coat, it’s time to prepare the corners. Mark a 1 cm long hem on the fabric.
- Then bend the corner inwards to form a triangle. It is important to make sure you have a right angle.
- Hold the triangle with one finger and, in the meantime, fold the fabric along the hem you marked in step 2. Make sure both hems are straight and secure with pins.
- Make four corners and pin it around the tread.
- Sew it by machine with a regular foot and it’s ready!
Can I make a double-sided tread for the table?
Of course you can! In decorating, you can do absolutely anything you can think of. Making a double-sided tread for a table is a bit more complicated, but it is not impossible.
What do you need to make a double-sided table tread?
- 2 different fabrics of the same size for the table runner.
- 1 thermoelastic fleece, same size as the tread.
- Bias tape (optional).
- Sewing Machine.
- Thread.
- Needle.
- Heels.
- Iron.
How to do it?
- Place the fleece on the table with the shiny side facing up.
- Place one of the fabrics printed on the non-woven fabric, print side to side, and secure with pins.
- Iron very carefully, especially if you use pins with plastic heads. It is very important not to use steam as it will destroy the glue.
- Place the bias tape flush with the fabric and stick it on. If you don’t want to put the tape in, don’t worry.
- Then sew both fabrics together and turn them over, your runner will be perfect.
- Place the second patterned fabric over the first patterned fabric. The idea is for both prints to be superimposed on each other.
- Secure with pins.
- Sew the contour, leaving one end to turn over.
- Iron the tread.
- Sew the open end by hand, and you’re done!
Ideas for making a tread for the table

- You can prepare the tread in the length of the table or in width, in this case it is recommended to make two.
- Don’t hesitate to combine the fabrics: a tread with a centerpiece made of a different fabric can look very nice.
- The tread ends can be straight or spiked, it’s your choice!
- At the ends or top of the tread, you can place details of your choice: buttons, sequins, pebbles.
- Paint the fabric by hand, if you are good at it, it will look beautiful!
- If embroidery is your passion, what are you waiting for instead of embroidered decorations?
- Crochet lovers can make this super original and delicate design.
- When calculating the size of the tread for the table, remember that the ends should fall at least 10 cm on each side.
What do you think about our ideas? We hope that with these tips, creating your own personalized table runner will be very easy and we encouraged you to do so!